Getting started with Netlify
Aside: the Git logo by Jason Long is licenced under the Creative Commons Attribution 3.0 Unported Licence.
If you’ve seen my portfolio recently, I’ve made a few additions—specifically, you can now visit the live sites for Australian Design Architects, and Seoul International Visitors Centre.
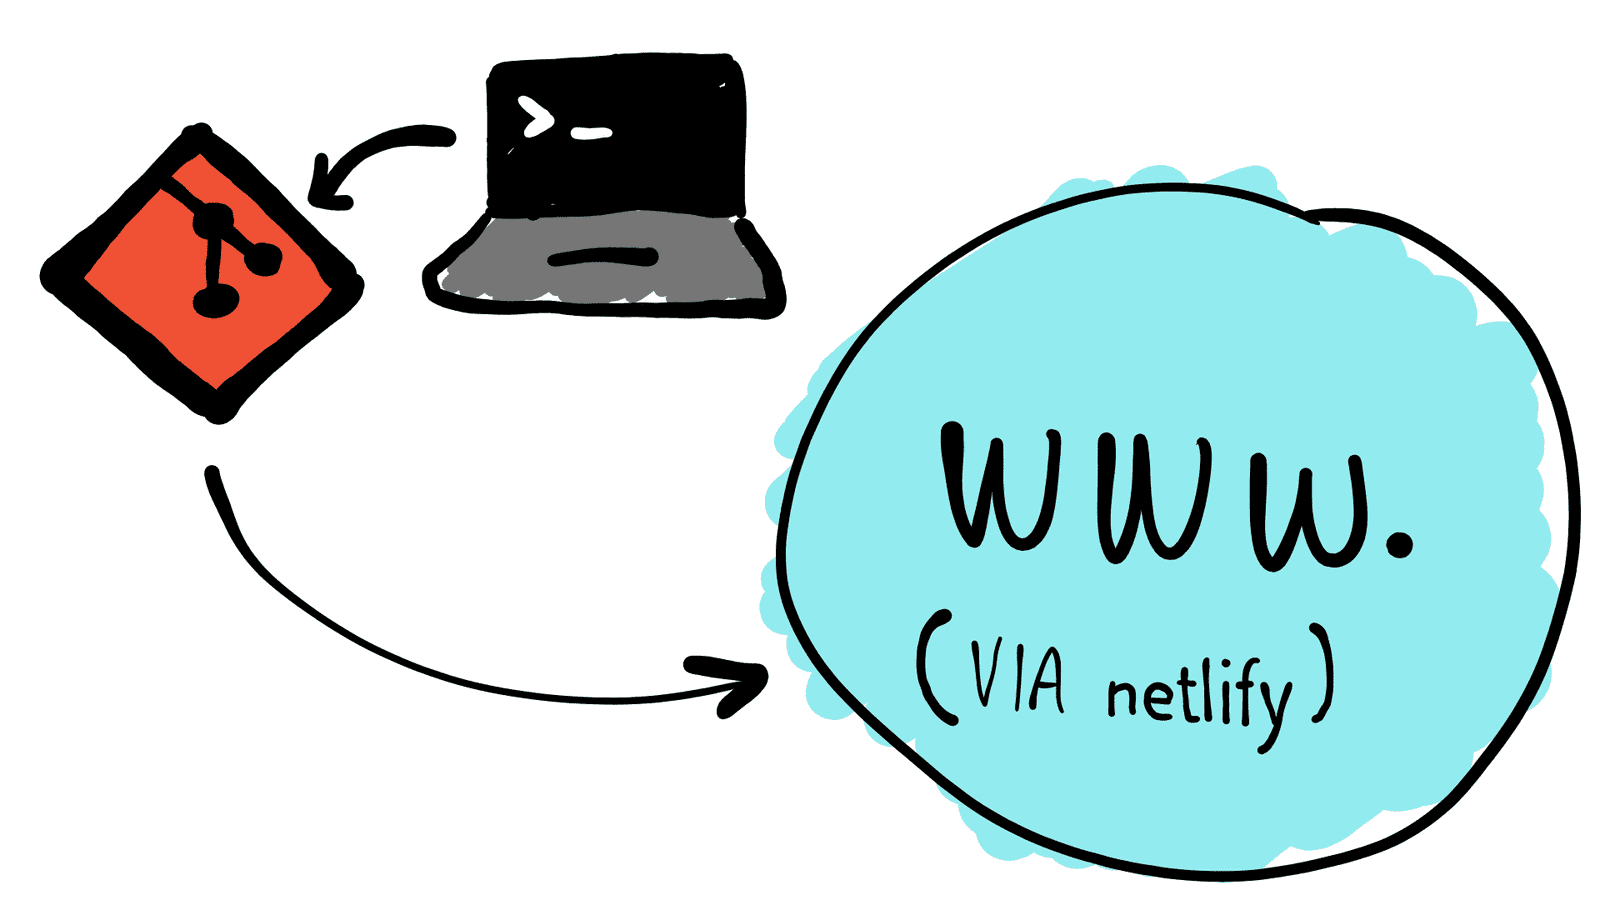
They both use Netlify, and this post will describe how I got things working, by deploying a project via a repository on GitLab. This means that we’ll be setting up a thing called Continuous Integration (CI), which is fancy speak for automatic deployments from an online repository.
Why Netlify though? Why not GitHub pages, or something on Azure, or Amazon Web Services, or our own VPS?
I thought that too when I first thought of putting them live. I could just put it on demo.mnguyen.io, and let it go. But that means I have to:
- Assign a new subdomain to my domain name: not a huge deal for DNS, but that would mean creating new TLS certificates from Let’s Encrypt which would be mildly irritating
- Upload all the project files onto the VPS: it’ll run through the storage and available bandwidth, and then if I make any updates, I have to upload the changes and run the generator again
- Create new configuration files for Nginx: also not a big deal.
All of that sounds like a lot of work, and since it’s coming to the end of the year, I wanted to wind back with something more simple so I didn’t get burned out.
So what does Netlify get us in their free tier? Well, they have:
- HTTPS out of the gate, so no-one interferes with what’s sent to your visitors
- We can use our Git repository, and let their infrastructure do the rest
- Preview deploys for branches and pull requests
- Deployments automatically work with their Content Distribution Network (CDN), so visitors always have a fast experience
- We can use it for personal, or commercial services
Their pricing scheme looks pretty good, catering from individuals, to teams, businesses and the high end stuff—fair for the service that they deliver. You can see the pricing here.
The files we’re using
The two projects that I’m using are at their core statically generated websites, which means that you pull together all the templates and content together to get files that you can stick on a HTTP server.
This is good in that this is all you need—no need for a database or any backend language, so as long as the HTTP server is well configured, you’ll be good.
My two projects are powered by Jekyll, a Ruby based generator that does the hard work of making something coherant from our source files.
There’s lots of engines you can use to generate your sites, such as Gatsby or Hugo. You should be able to use them all.
Preparing the source files
Because we have a Git repository for our project, we can use Netlify’s integration with services like GitHub and GitLab to kick things off. It doesn’t only serve as a place to host the code and files, but it also provides an easy way to pull code from different computer environments!
There’s a few modifications to make to the code repository before it deploys, so I’ll do that now.
Configuring Jekyll (and Ruby)
We can’t just copy the published files over, since it would basically make the deployment no more useful than FTP, dependant on our environment and our machine.
What we need to do instead is configure our project, so Netlify’s build system can build the project for itself. This is useful because you aren’t tied down to your own developer environment anymore—you can simply pull the code from your repository and get back to working on it in a near instant.
So, following this guide that they have, we can set up the required info, first by running bundle init, then modifying the resulting Gemfile:
gem "jekyll"Then we can install it to our project:
$ bundle installwhich then creates a file called Gemfile.lock.
Modify your .gitignore so that you exclude the build directory by adding its name to the bottom of the list. You can then commit those changes to your repository, and push it online.
Making it go
Going to the Netlify dashboard, you can see that you can upload a folder directly. It’s great if you want to throw up a prototype to show off to your team, but if you want to deploy often, nothing beats the CI process with a Git repsository.
Clicking on the button, you’ll see the choice for 3 different Git providers from which you can pull your repo from. While I’ve put my work on GitLab (mainly due to their free private repos for anyone), you can also tap into your accounts on GitHub or BitBucket if you’d like.
Sign into your chosen service, grant Netlify permission to access your repos, and select the repo, and off it goes!
The deployment will make a clone of your repository and deploy it with the given resources. The Gemfile and Gemfile.lock files will grab the right packages, and .ruby-version will make sure that it uses the right version of Ruby to go with it.
With some luck, it’ll give you a link that you can click on, and view online!
So in closing
I’ve set out a few reasons why you would use a service like Netlify, due to its ease of use compared to other options like hosting it yourself.
There are a few things that you need to do if you’re using static generators like Jekyll, Hugo, and GatsbyJS—making sure that you’ve set the correct version of your processor. Then you can push it to your Git repository, and then get it processed and put it up live on the internet!
